
Everything You Need to Know About 3D Puff Embroidery
Embroidery has evolved into an art form that transcends traditional stitching techniques. Among the myriad of embroidery styles, 3D Puff Embroidery stands out as a captivating and innovative method that adds depth and dimension to your designs. In this comprehensive guide, we delve into everything you need to know about 3D Puff Embroidery, unraveling its intricacies and showcasing why it’s a must-have for anyone looking to elevate their embroidered creations.
Understanding the Essence of 3D Puff Embroidery
What Sets 3D Puff Embroidery Apart?
3D Puff Embroidery is not your average stitching technique; it’s a game-changer in the world of textile artistry. What distinguishes it from conventional embroidery is the raised, three-dimensional effect it imparts to designs. This technique uses a special foam underlay beneath the embroidered areas, creating a plush and elevated appearance that adds texture and visual interest.
The Artistry Behind the Technique
Delving into the intricacies of 3D Puff Embroidery, it’s crucial to understand the meticulous craftsmanship involved. Skilled artisans meticulously digitize designs, taking into account the specific areas that will benefit from the puff effect. The foam underlay is strategically placed in these regions, elevating the design and bringing it to life. This meticulous approach ensures that the final result is not just visually striking but also tactically engaging.
Flat Embroidery vs. Puff Embroidery
Flat embroidery and air embroidery are two different ways used in embroidery, each with its unique features and benefits.
Flat embroidery is a style in which the embroidery design is sutured directly onto the fabric without any fresh embellishments. The design is flat on the fabric, giving it a smooth and harmonious appearance. Flat stitching is generally employed to produce designs with fine details or elaborate patterns, similar to totems, ensigns, and cosmetic motifs.
Air embroidery, on the other hand, is a fashion trend in which a subcaste of froth is inserted beneath the design, raising it and giving it a three-dimensional aspect. The froth is cut to the design shape and sandwiched between the fabric and the embroidery thread. The froth elevates the aches above the fabric, providing a “fluffy” or elevated look that draws attention to the design. Air embroidery is generally used to produce motifs with a bold and textured appearance, similar as sports ensigns, periapts, and other designs that must stand out.
In summary, flat embroidery is suitable for designs that bear a smooth and invariant appearance, while air embroidery is more suitable for designs that need to stand out and have a three- dimensional effect. The choice between the two ways depends on the design, the fabric, and the intended purpose of the embroidery.
How to Embroider 3D Puff Foam: Steps & Overview
To produce the required three-dimensional impression, puff embroidery requires a few specialised processes. The following are the general steps for making puff embroidery:
- Make the design: First, make the design that you wish to embroider. Remember that the pattern should be basic and strong, with obvious outlines, because complicated details may not work well with the puff embroidery technique.
- Select the foam: Next, select the foam that will be used to create the elevated effect. The most commonly utilized material for this approach is polyurethane foam. The foam comes in various thicknesses, which influence the height of the embroidery design.
- Hoop the fabric and foam: Once you’ve got the pattern and the foam, put the cloth in the embroidery hoop and cut a piece of foam somewhat larger than the design. Then, lay the foam on top of the fabric, centered beneath the design to be embroidered.
- Embroider the design:Thread the needle with the embroidery thread and begin stitching the design onto the foam. Fill in the design with a running stitch, backstitch, or satin stitch. To keep the foam in place, sew through both the foam and the cloth.
- Trim the excess foam:After finishing the embroidery, carefully remove the fabric from the hoop and clip away the excess foam from the back of the design. Avoid cutting the stitches or the fabric.
Nobody Can Compete with Our 3D Puff Embroidery in the UK!
DCF EMBROIDERY
If you’re seeking artistic and imaginative 3D puff embroidery near me, go no farther than Pro Digitising. We can prepare your design for 3D-raised embroidery and stitch it on the cloth of your choice for you. It means we can be a one-stop shop for all of your digitizing, embroidery, and printing needs. To make the needlework stand out, 3D puffy foam is utilized as a basis.
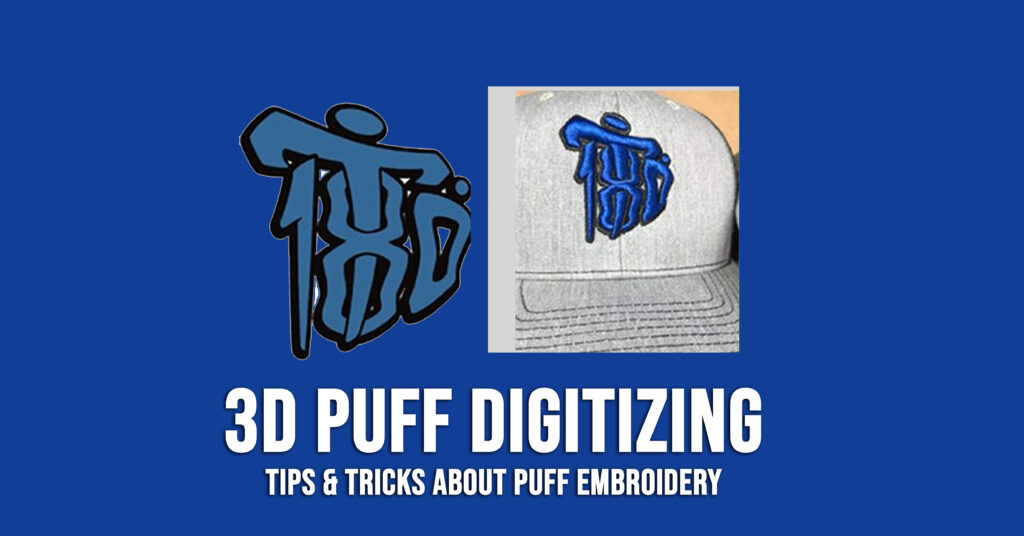
3D Puff Digitizing
Whether you desire a 3D embroidered hat or puff embroidery for any other item, our needle artists can turn your design vision into a reality.
- Easy To Communicate: You will get a chance to work with the most friendly and cooperative British craftsmen. They will pay close attention to your project details and will always be there for communication.
- Full-Fledged Support: From the most advanced software to 3D puff embroidery machines, we have all the resources covered to make your custom designs more visible and attention-grabbing.
- Unmatched Transparency: You will be able to monitor the whole process as we try to serve our customers with complete honesty and transparency. Get your accessories 3D embroidered right now!
TIPS FOR 3D PUFF DIGITIZING
- When it comes to 3D puff, the digitization of the artwork is the most important component of it, and if not done correctly, may make your design appear completely dreadful; in this situation, we would not only recommend using a skilled digitizer but also competent digitizing software.
- Learn how to generate stops at various times in your artwork’s construction. For example, you should be able to add a stop after a color change.
- Place the foam down and secure it with tape. You don’t have to worry about the artwork moving after the first stitch is in place.
- Create the borders first, then add satin stitches. This border will aid in creating a “cut” in the foam, making it easier to pull out.
- Stop the machine and remove the excess foam.
- Complete the remaining artwork and cover the bulging area.
- Clean the poorly stitched result with nippers and shrink any excess foam using a heat gun.